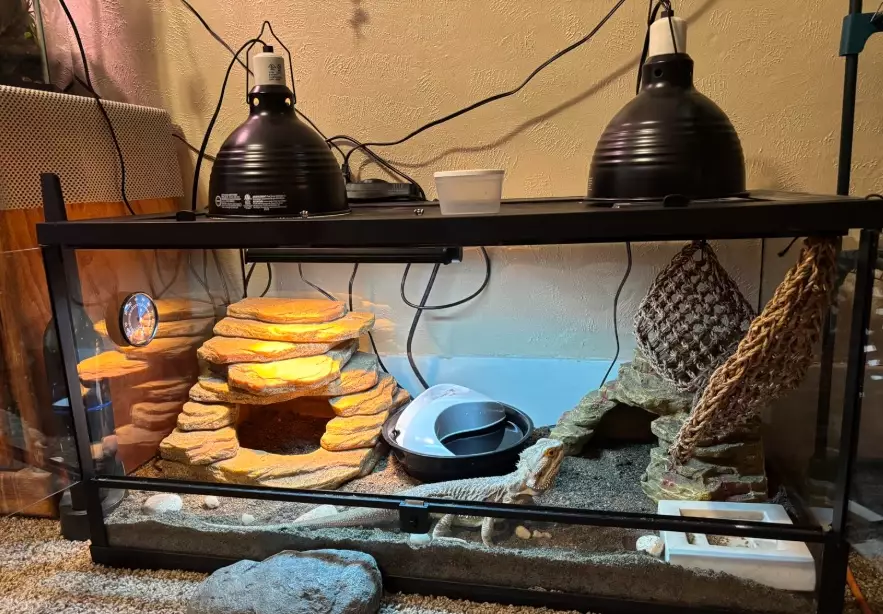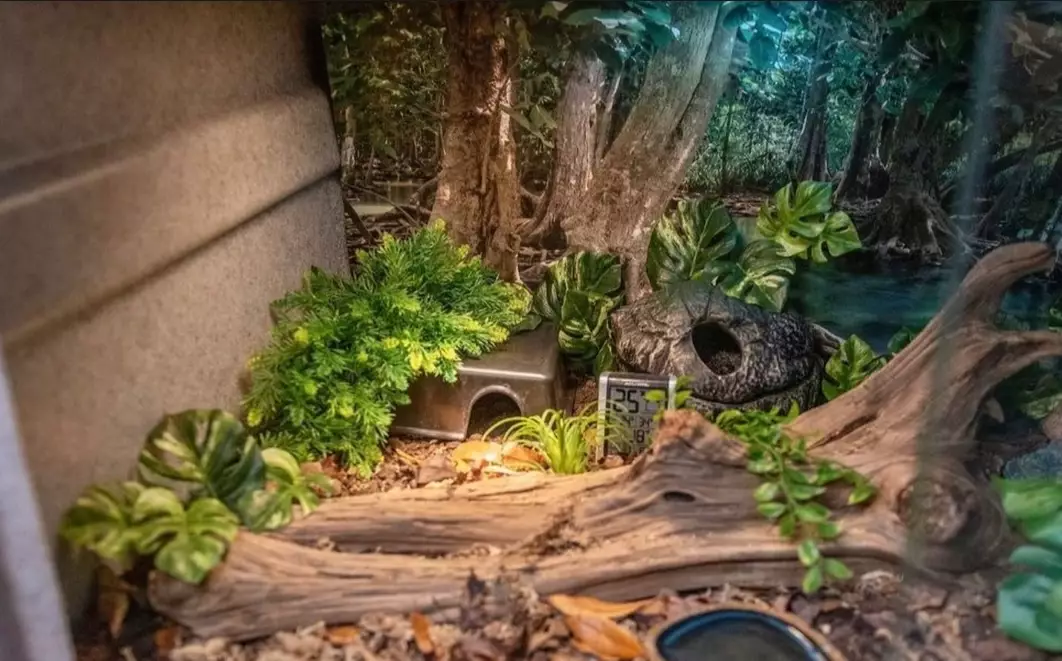
I've built eleven bioactive setups over the past decade. The first three were disasters. Mold bloomed under the drainage layer. Springtails died within a week. The substrate turned into a swamp that smelled like a forgotten gym bag. So when people ask me about a bioactive terrarium setup, I don't start with the pretty stuff. I start with the layer that most guides bury at the bottom of the page.
Here's the truth: a bioactive terrarium lives or dies by two things — the drainage-to-substrate ratio, and whether your clean-up crew actually eats what you think they eat. Get those right, and the system runs itself. Get them wrong, and you're just building a very expensive mold farm.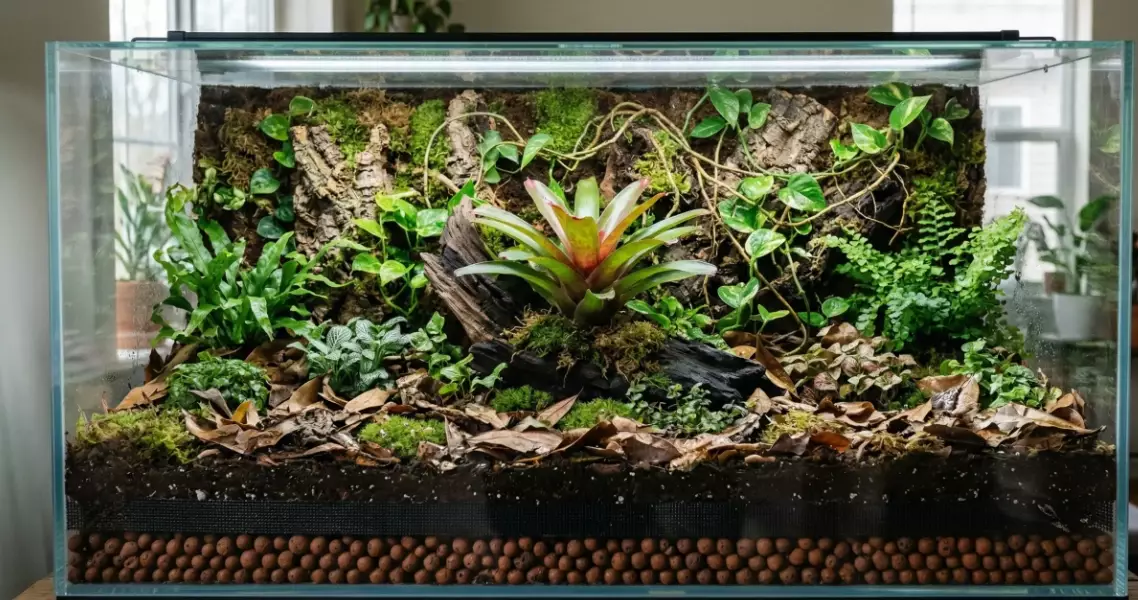
What I'll walk you through
The Layering Blueprint That Prevents Swamp Syndrome
Most tutorials show you a cross-section diagram with five perfect layers and call it a day. That diagram is missing the critical variable: how water moves through the system after week three, not on day one.
I use a 4-layer approach. The bottom layer is a false bottom made from egg crate and weed fabric. Not gravel. Gravel holds water in the gaps and creates anaerobic pockets. Egg crate gives you actual air space. I learned this after losing a colony of Armadillidium maculatum isopods to a bacteria bloom that sat in a gravel drainage layer.
The second layer is a 2-inch drainage zone filled with hydroton clay pebbles or coarse pumice. This is where excess water collects. It should never touch the substrate above it. The transition zone between drainage and substrate is where people mess up — they skip the mesh barrier or use window screen that rusts.
The ratio that works: For every 1 part drainage pebbles, use 3 parts substrate mix. That's a 1:3 ratio. If your enclosure is 24 inches tall, the drainage layer should be no more than 2 inches, and the substrate should be roughly 5 to 6 inches deep. Anything deeper and you're creating a moisture trap.
The third layer is a 1-inch barrier of coco coir mixed with sphagnum moss. This is a transitional moisture wick. It pulls water from the drainage layer upward slowly, so the substrate doesn't dry out from below. I've seen people skip this and wonder why their springtails migrate to the glass walls.
The fourth layer is the actual substrate. Here's where I break from the standard recipe. Most people use a 50/50 mix of coco coir and topsoil. I use a 40/30/30 blend:
- 40% organic topsoil (no fertilizer, no perlite — check the bag carefully)
- 30% coco coir
- 30% aged compost or leaf litter
That 30% compost is non-negotiable. It's the food source for your clean-up crew between feedings. Without it, your springtails starve.
How to Build a Clean-Up Crew That Doesn't Die on You
Everyone tells you to add springtails and isopods. Few people tell you the species matter more than the number.
I use two species of isopods and one springtail species. The isopods are Trichorhina tomentosa (dwarf white) and Porcellionides pruinosus. The dwarf whites stay small and live in the substrate. The pruinosus are more active and handle larger waste. The springtails are Folsomia candida — they're the mold police. They don't eat mold. They outcompete it for resources. That's a distinction most guides get wrong.
The mistake I made: I once introduced isopods and springtails on the same day. The isopods ate the springtail food source (the compost I mixed in) before the springtails could establish. I lost 80% of my springtail culture in 48 hours. Now I wait two weeks after planting before adding springtails, and one month before adding isopods. Let the microfauna settle first.
Here's a ratio table I've tested across five different setups:
| Enclosure Size | Springtail Starter | Isopod Starter | When to Add |
|---|---|---|---|
| 10-gallon | 1 culture (8 oz) | 10-12 adults | Springtails at week 2, isopods at week 4 |
| 20-gallon | 2 cultures (16 oz) | 25-30 adults | Springtails at week 2, isopods at week 4 |
| 40-gallon | 3 cultures (24 oz) | 50-60 adults | Springtails at week 2, isopods at week 5 |
The clean-up crew needs a food source that doesn't rot. I use a 50/50 mix of leaf litter (oak and magnolia work best) and a small amount of fish flakes once a week. The leaf litter should cover at least 30% of the substrate surface. That's where the isopods graze between feedings.
Planting Order: Why Most People Get This Backwards
I visited a local reptile shop last month and saw a customer buying plants before they'd even built the drainage layer. That's like buying curtains before you've poured the foundation.
Planting order should follow the water gradient. Start with plants that tolerate wet feet near the drainage side of the enclosure. Then move to middle-zone plants. Finish with plants that prefer dry, well-drained soil near the warm end (if you're using a heat lamp).
I run four categories:
- Wet-tolerant: Fittonia albivenis (nerve plant), Pilea glauca. These go within 6 inches of the drainage layer.
- Mid-zone: Epipremnum aureum (pothos), Philodendron hederaceum. These are the workhorses — they root fast and provide cover for the clean-up crew.
- Dry-tolerant: Sansevieria trifasciata (snake plant) and Haworthia species. These go under the basking spot.
- Epiphytes: Marcgravia and small orchids. These go on the background or cork bark, not in the substrate.
Plant them in the sequence above. Water the substrate lightly after each planting group. That helps the roots settle without displacing the layers.
One thing I do differently: I don't plant everything on day one. I plant only the wet-tolerant and mid-zone plants first. I wait two weeks. Then I add the dry-tolerant plants. This lets the moisture gradient establish itself naturally. If you plant everything at once, the dry-loving plants sit in wet soil while the substrate finds its balance.
Three Setup Mistakes I Made (So You Don't Have To)
Mistake 1: I bought a pre-mixed substrate with charcoal in it
The charcoal was supposed to prevent odors. It also absorbed the beneficial bacteria that break down waste. My springtail population crashed within ten days. Now I buy separate components and mix them myself. No charcoal in the substrate. Charcoal belongs in the drainage layer or in the background mix, not in the living soil.
Mistake 2: I misted the terrarium like a tropical rainforest
The first setup I built was for a crested gecko. I sprayed it twice a day. The drainage layer filled up after three weeks because the substrate was holding too much water. I had to tear the whole thing down. Now I water once every four days, and I water only near the drainage side. I let the dry side stay dry. That mimics natural conditions better than constant misting.
Mistake 3: I used a flat piece of cork bark as a background
It looked nice until the humidity warped it. The cork curled away from the glass, and the isopods nested behind it. I couldn't see them anymore. Now I use expanding foam covered with silicone and coco coir. It doesn't warp, and it gives the clean-up crew places to climb without hiding entirely.
Real Questions from People Who've Already Killed a Terrarium
I added springtails but they all disappeared from the surface after two days. What's going on?
They didn't disappear. They moved down. Springtails follow moisture. If the top inch of your substrate is bone dry, they'll migrate to the drainage layer or the soil near the glass. Check the corners near the drainage layer. If you find them there, your substrate surface is too dry. Add a thin layer of moist sphagnum moss on the surface and re-check in 48 hours. If you still don't see them, your culture was dead on arrival. That happens more than vendors admit.
How long should I wait before adding an animal to a new bioactive setup?
Wait six weeks minimum. Not four. Not five. Six. The first two weeks are for the plants to root. The next two weeks are for the springtails to establish a breeding population. The last two weeks are for the isopods to settle and for the substrate to cycle. If you add a lizard at week three, the clean-up crew hasn't multiplied enough to handle the waste load. I've seen people rush this step and end up with a fungal bloom on the substrate surface within a week.
My isopods are eating my plants. What do I do?
They're eating the soft new growth because they're protein-starved. Isopods need protein, and leaf litter alone doesn't cut it during a population boom. Add a small piece of dried shrimp or a dead cricket twice a week. That redirects their attention. Also, check your plant choices — Fittonia and Pilea are high-protein snacks for isopods. Plant those in the wet zone where isopods are less active. Keep the dry zone for plants you actually care about.
Can I use garden soil from my backyard for the substrate?
You can, but you're rolling dice. Backyard soil brings in ants, centipedes, and fungal spores you didn't plan for. I did it once and ended up with a centipede that ate my springtail culture in a single night. If you want to use local soil, bake it at 200°F for 30 minutes first. That kills the hitchhikers. But it also kills the beneficial bacteria. Your call. I use organic topsoil from a bag now. Less drama.
How often do I need to replace the substrate?
If the setup is balanced, you don't replace it. You top it off. The clean-up crew breaks down waste into nutrients that the plants use. The only time I replace substrate is after a mite infestation or a bacterial bloom that won't clear. A healthy bioactive terrarium runs for years on the same substrate. That's the entire point. If yours is turning sour every six months, your drainage layer is too small or your clean-up crew is too sparse.
I wish someone had told me these details before I built my first three setups. The drainage ratio, the two-week delay before adding springtails, the protein supplement for isopods — none of that showed up in the beginner guides I read. But those are the details that separate a setup that runs itself from a setup that becomes a weekly chore.
This article was fact-checked against the Anapsid bioactive substrate resource and cross-referenced with care sheets from the Association of Zoos and Aquariums for substrate depth guidelines on herptile enclosures.